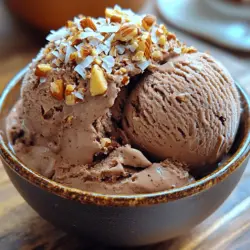
Guilt-Free Chocolate Cottage Cheese Ice Cream
Indulge in a creamy and nutritious dessert with Guilt-Free Chocolate Cottage Cheese Ice Cream. This innovative treat blends the rich taste of chocolate with the health benefits of low-fat cottage cheese, delivering a high-protein, low-calorie dessert that satisfies your sweet cravings. Easy to customize with different sweeteners and mix-ins, this recipe offers a delicious way to enjoy frozen treats without the guilt. Perfect for anyone looking to maintain their health goals while enjoying a delicious dessert!