Introduction
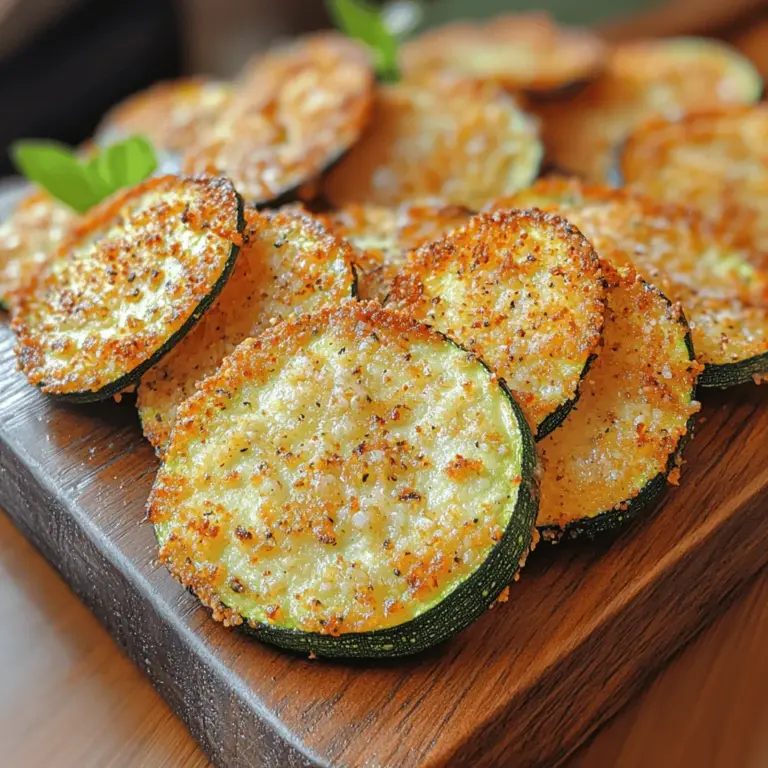
Zucchini is one of nature’s most versatile vegetables, gracing our tables in countless forms, from sautéed to spiralized. It’s not just a staple in salads and stir-fries; zucchini also shines in the world of snacks. Enter baked zucchini chips—an innovative and healthier alternative to traditional potato chips. These crispy delights offer all the satisfaction of crunching on a snack without the guilt that often accompanies processed options.
Homemade snacks have a unique charm; they bring a sense of accomplishment and creativity, allowing you to control the ingredients and flavors. Baked zucchini chips are not only simple to make but also provide a customizable canvas for your favorite seasonings. If you’re on the lookout for a nutritious snack to enjoy on movie nights, game days, or just as a mid-afternoon pick-me-up, baked zucchini chips are a delightful choice.
Understanding Zucchini: A Nutritional Powerhouse
Zucchini is low in calories and high in essential nutrients, making it an excellent choice for healthy snacking. A medium-sized zucchini (approximately 196 grams) has about 33 calories, 2 grams of protein, and provides a good source of vitamins A and C, potassium, and fiber. This nutrient density not only supports a balanced diet but also promotes overall health.
One of the standout features of zucchini is its high water content—about 95%—which helps keep you hydrated while delivering essential nutrients. This vegetable is also rich in antioxidants, particularly lutein and zeaxanthin, which are beneficial for eye health.
When compared to traditional snack options, such as potato chips or sugary snacks, zucchini chips win hands down. Traditional snacks are often high in unhealthy fats, sugars, and preservatives, while zucchini chips offer a much healthier profile. They are a delicious way to indulge your cravings without compromising your health goals.
Essential Ingredients for Baked Zucchini Chips
To create the perfect batch of baked zucchini chips, you’ll need a few essential ingredients that work together to deliver that satisfying crunch and flavor.
Zucchini
The star of the show, zucchini, should be fresh and firm. Look for zucchinis that are free of blemishes and have a rich green color. Younger zucchinis tend to be sweeter and have a more tender skin, making them ideal for this recipe.
Breadcrumbs
For the ultimate crunch, using panko breadcrumbs is highly recommended. Panko breadcrumbs are made from crustless bread and have a larger, flakier texture compared to traditional breadcrumbs, which translates to a crispier chip. If you’re looking for a gluten-free option, there are many brands of gluten-free panko available that work just as well.
Parmesan Cheese
Parmesan cheese adds a savory depth of flavor that complements the mild taste of zucchini. It also contributes to the overall crispiness of the chips. When choosing Parmesan, opt for freshly grated cheese for the best flavor and texture; pre-packaged versions often contain additives that can affect the outcome.
Spices and Seasonings
The beauty of baked zucchini chips lies in their versatility. You can customize the flavor profile to your liking by incorporating a variety of spices and seasonings. Common choices include garlic powder, onion powder, paprika, black pepper, and even a pinch of cayenne for heat. Experimenting with different seasoning combinations can keep your snack time exciting.
Egg Wash
An egg wash is a mixture of beaten eggs that helps the breadcrumbs adhere to the zucchini slices. It creates a binding layer that ensures an even coating and contributes to the crunchiness of the final product. For a vegan alternative, you can use a mixture of flaxseed meal and water or aquafaba (the liquid from canned chickpeas).
Olive Oil
A light drizzle of olive oil not only helps the breadcrumbs to crisp up in the oven but also adds flavor. It creates a beautiful golden-brown finish on your chips. You can use other oils as well, like avocado oil or coconut oil, depending on your preference.
Step-by-Step Guide to Making Baked Zucchini Chips
Now that you have all your ingredients ready, it’s time to dive into the step-by-step process of making your own baked zucchini chips.
Preparing the Oven and Baking Sheets
Before you start, it’s essential to preheat your oven to 225°F (about 107°C). This low temperature ensures that the zucchini chips dry out rather than roast, leading to that desired crispness. Additionally, line a couple of baking sheets with parchment paper; this not only prevents sticking but also aids in crisping up the chips.
Selecting and Slicing Zucchini
Choosing the right zucchini is crucial for achieving the best results. Look for young, firm zucchinis without any soft spots or blemishes. It’s best to select zucchinis that are about 6-8 inches long, as they tend to be more tender and flavorful.
When it comes to slicing, uniformity is key. Aim for slices that are about 1/8 inch thick. Thicker slices may not crisp up as well, while thinner ones might burn. A mandoline slicer can be a great tool for achieving even slices, but a sharp knife will work just fine.
The Draining Process
Once you’ve sliced your zucchini, it’s time to extract some of the moisture. This step is vital as it directly impacts the texture of your chips.
Place the sliced zucchini on a clean kitchen towel or paper towels and sprinkle them lightly with salt. The salt will draw out excess moisture, allowing the chips to become crispier during baking. Let the salted zucchini sit for about 20-30 minutes, flipping them halfway through. After the resting period, pat them dry with a towel to remove any excess salt and moisture.
Creating the Breading Station
With your zucchini slices prepped, it’s time to create a breading station. In one bowl, beat the eggs until smooth; in another, combine your panko breadcrumbs, grated Parmesan cheese, and spices.
Begin by dipping a zucchini slice into the egg wash, allowing any excess to drip off. Next, coat it with the breadcrumb mixture, pressing gently to ensure an even layer. Repeat this process until all slices are coated, and place them on the prepared baking sheets in a single layer.
With the right preparation and ingredient selection, you are well on your way to enjoying a deliciously crunchy snack that will satisfy your cravings while keeping your health in check. In the following sections, we’ll dive deeper into the baking process, tips for achieving the perfect crispiness, and some fun serving ideas to elevate your baked zucchini chips experience. Stay tuned!
Suggested Variations for the Breadcrumb Coating
When it comes to coating your zucchini chips, there are numerous variations you can explore to customize the flavor profile. While traditional breadcrumbs work perfectly, here are some creative alternatives to elevate your baked zucchini chips:
1. Panko Breadcrumbs: For an extra crunch, use panko breadcrumbs instead of regular breadcrumbs. They provide a lighter, airier texture that creates a crispier chip.
2. Almond Flour or Meal: For a gluten-free option, substitute breadcrumbs with almond flour or almond meal. This not only caters to dietary restrictions but also adds a nutty flavor.
3. Cornmeal: For a rustic twist, use cornmeal as your coating. It imparts a slightly sweet taste and enhances the crunchiness of the chips.
4. Crushed Nuts: Finely crushed nuts such as walnuts, pecans, or hazelnuts can be an excellent coating. They add a rich flavor and a satisfying crunch while being gluten-free.
5. Seasoned Crackers: Crush your favorite seasoned crackers (like Italian herb or garlic-flavored) to use as a breadcrumb coating. This adds an extra layer of flavor to your chips.
Coating and Baking the Zucchini Chips
Coating Technique
To ensure your zucchini chips are deliciously crispy, the coating technique is crucial. Begin by slicing your zucchini into thin, even rounds, about 1/8 inch thick. This uniformity is key to achieving consistent cooking.
1. Prepare the Coating Station: Set up two shallow bowls. In the first bowl, combine your choice of flour (all-purpose, almond, or gluten-free) with a pinch of salt and pepper. In the second bowl, whisk together an egg or an egg substitute (for a vegan option, use flaxseed meal mixed with water). Finally, have your breadcrumb mixture ready in the third bowl.
2. Dredging Process: Start by dredging each zucchini slice in the flour mixture, ensuring it is lightly coated. Next, dip it into the egg wash, allowing any excess to drip off before transferring it to the breadcrumb bowl. Press the zucchini slice into the breadcrumbs gently to ensure even coverage. This technique is vital; an even coating guarantees optimal crunchiness.
3. Importance of Even Coverage: Even coverage not only contributes to the texture but also ensures that the flavors are distributed evenly across each chip. Avoid clumping of crumbs, which can lead to soggy areas.
Arranging on Baking Sheets
Once all the zucchini slices are coated, it’s time to arrange them on baking sheets:
1. Use Parchment Paper: Line your baking sheets with parchment paper to prevent sticking and simplify cleanup.
2. Spacing for Even Baking: Arrange the coated zucchini chips in a single layer, ensuring they do not overlap. Spacing is essential for even baking; if the chips are crowded, they will steam rather than crisp up.
Baking Process
The baking process is where the magic happens, turning your zucchini slices into delightful chips.
1. Cooking Time and Temperature: Preheat your oven to 425°F (220°C). This high temperature is crucial for achieving that perfect crunch. Bake the zucchini chips for 20-25 minutes, flipping them halfway through the cooking time. This flipping is significant; it allows both sides to crisp up evenly and prevents burning.
2. Monitor the Chips: Keep an eye on your chips towards the end of the baking time. They can go from perfectly crispy to burnt quite quickly, so check frequently after the 20-minute mark.
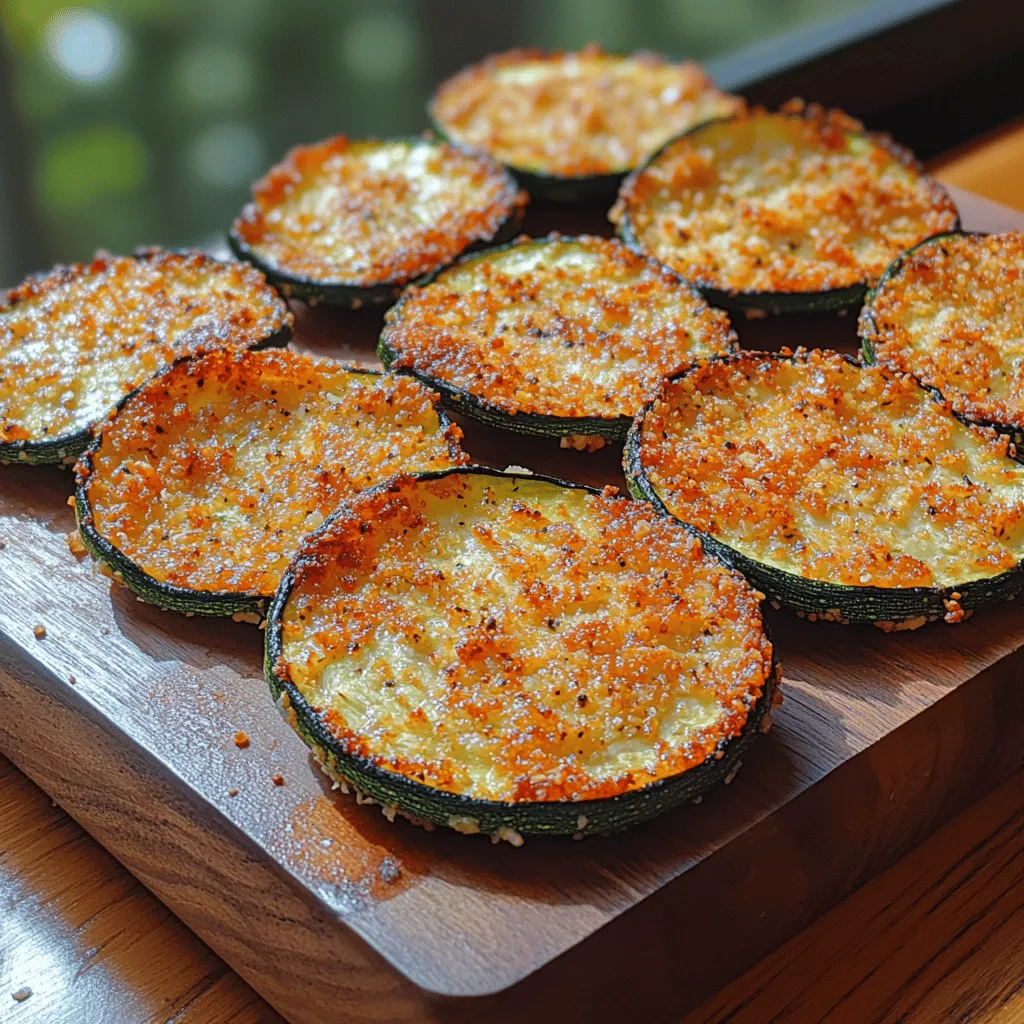
Cooling and Serving Suggestions
After baking, let the zucchini chips cool for a few minutes on the baking sheet before transferring them to a wire rack. This cooling step is essential, as it allows excess moisture to escape, further enhancing the crispiness of each chip.
Dipping Sauces
To elevate your zucchini chips even further, consider pairing them with delicious dipping sauces. Here are some ideas:
– Garlic Aioli: A creamy garlic dip adds a gourmet touch to your chips.
– Spicy Sriracha Mayo: For those who enjoy a kick, mix mayonnaise with sriracha for a tangy, spicy dip.
– Ranch Dressing: A classic choice, ranch dressing complements the zucchini’s flavor beautifully.
– Hummus: For a healthier option, serve your zucchini chips with a side of hummus, which adds a protein boost.
Serving Occasions
Baked zucchini chips make for an excellent snack at any gathering. They are perfect for parties, movie nights, or as a healthy finger food at picnics. Their versatility allows them to shine as an appetizer at a dinner party or simply as a delightful snack for the family.
Health Benefits of Choosing Baked Over Fried
Opting for baked zucchini chips instead of their fried counterparts comes with numerous health advantages.
1. Lower Calories and Fats: When comparing baked zucchini chips to fried ones, the difference in caloric content is significant. Baked chips typically contain far fewer calories and unhealthy fats, making them a more nutritious choice.
2. Healthier Homemade Snacks: By making snacks at home, you have control over the ingredients, ensuring they are fresher and devoid of preservatives and unhealthy additives often found in store-bought snacks.
3. Portion Control: Making your snacks allows you to control the portion sizes. It’s easier to enjoy a healthy treat without overdoing it when you prepare it yourself, compared to the temptation of larger serving sizes found in packaged products.
Creative Variations on Baked Zucchini Chips
Once you’ve mastered the basic recipe, get creative with these variations to keep things exciting.
1. Spice Variations: Experiment with spices such as chili powder, paprika, or cumin for a flavorful kick. Nutritional yeast can also be sprinkled for a cheesy flavor without using actual cheese.
2. Cheese and Herb Combinations: Incorporate different types of cheeses, such as Parmesan or cheddar, into your breadcrumb coating. Fresh herbs like rosemary or thyme can add a fragrant touch.
3. Alternative Vegetables: Don’t limit yourself to zucchini. Sweet potatoes, carrots, and eggplant can also be sliced and baked using the same method, providing delicious variations that cater to different tastes.
Conclusion
Baked zucchini chips are a delightful and healthier alternative to traditional snacks, offering both flavor and crunch without the guilt. Making homemade snacks allows you to experiment with flavors and ingredients, leading to delicious results tailored to your preferences. The joy of creating your snacks is not only in the eating but also in the process of making them.
With their numerous health benefits and endless possibilities for variations, baked zucchini chips can become a staple in your kitchen. So, gather your ingredients, get creative with your coatings, and enjoy the process of home cooking. Whether it’s for a party, a casual snack, or a healthy side dish, these chips are sure to impress everyone!
