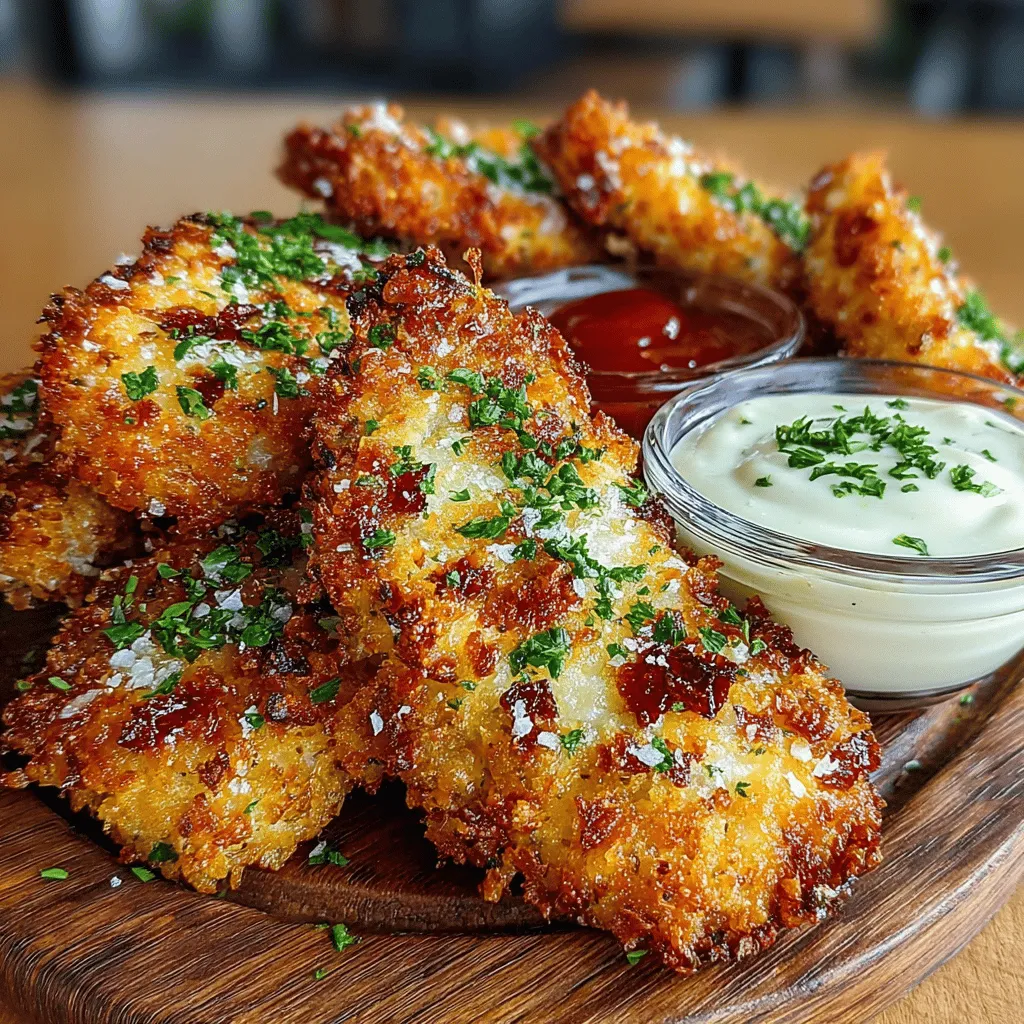
Crunchy Heaven: Crispy Baked Chicken Tenders Recipe
Introduction
Chicken tenders have secured their place as a beloved comfort food in households across the globe. Their tender meat and mild flavor make them a family favorite, appealing to both children and adults alike. Traditionally deep-fried, these succulent strips of chicken are often associated with indulgence, but there’s a growing trend toward healthier eating that allows for a delightful compromise. Enter the baked chicken tender—a lighter option that doesn’t sacrifice flavor or crunch.
Baked chicken tenders are an excellent alternative for those looking to indulge without the guilt. By eliminating the frying process and using the oven, you can achieve a satisfying crispiness while keeping your meal nutritious. This recipe for Crunchy Heaven: Crispy Baked Chicken Tenders presents a simple yet delicious way to satisfy your cravings for crispy chicken without the excess calories and fat associated with frying. Whether you’re preparing a weeknight dinner, hosting a gathering, or simply treating yourself, these baked chicken tenders are sure to impress with their flavor and crunch.
Understanding the Ingredients
To create the perfect crispy baked chicken tenders, it’s essential to understand the key ingredients that contribute to their deliciousness.
1. Chicken Breasts: At the heart of this recipe are chicken breasts, which serve as a lean source of protein. They are not only low in fat but also incredibly versatile, absorbing flavors from marinades and seasonings beautifully. Choosing quality chicken breasts ensures that your tenders will be juicy and tender after baking.
2. Buttermilk: One of the secrets to achieving tender, flavorful chicken tenders lies in the marination process, particularly with buttermilk. Buttermilk acts as a natural tenderizer due to its acidity, breaking down the proteins in the chicken and allowing it to absorb moisture and flavor. Additionally, the tangy taste of buttermilk complements the seasonings, enhancing the overall taste of the tenders.
3. Seasonings: The flavor profile of your chicken tenders is significantly influenced by the seasonings you choose. A blend of garlic powder, onion powder, and smoked paprika is commonly used to create a savory depth of flavor. Garlic powder provides a robust aroma, onion powder adds a subtle sweetness, and smoked paprika contributes a hint of smokiness and vibrant color. These seasonings work together to elevate the taste of the chicken, ensuring every bite is packed with flavor.
4. Panko Breadcrumbs: When it comes to achieving that coveted crunch, panko breadcrumbs are the undisputed champion. Unlike traditional breadcrumbs, which are typically finer and denser, panko is made from crustless bread, resulting in larger, airier flakes. This unique texture not only provides a superior crunch but also allows for better adherence to the chicken, creating a satisfying coating that remains crispy even after baking.
Preparation Steps
With a solid understanding of the ingredients, it’s time to dive into the preparation steps that will guide you toward making the perfect crispy baked chicken tenders.
Step 1: Marination Process
Begin by preparing the chicken breasts. Cut them into even strips, about one inch wide, to ensure uniform cooking. Next, place the chicken strips into a bowl and cover them with buttermilk. For added flavor, consider mixing in a teaspoon of salt and a pinch of black pepper into the buttermilk. The marination should last at least 30 minutes; however, if time allows, marinating for several hours or even overnight in the refrigerator will yield even better results. This process is crucial as it not only tenderizes the chicken but also infuses it with that delicious tangy flavor.
Step 2: Setting Up the Breading Station
While your chicken is marinating, set up an efficient breading station. This is key to achieving consistent results. You will need three shallow dishes: one for the flour, one for the beaten eggs, and one for the panko breadcrumbs.
– In the first dish, combine all-purpose flour with a pinch of salt and pepper. This dry mixture will help the egg adhere to the chicken.
– In the second dish, beat a couple of eggs. This will serve as the binding agent for the breadcrumbs.
– Finally, in the third dish, place the panko breadcrumbs. For an extra flavor boost, you can mix in some of the same seasonings used in the buttermilk, such as garlic powder and smoked paprika.
Step 3: Breading Technique
Now comes the fun part—bread the chicken tenders! Start by removing a piece of chicken from the buttermilk, allowing any excess to drip off. Dredge it in the flour mixture, ensuring it’s well-coated, then dip it into the beaten egg, allowing any excess to drip off again. Finally, roll the chicken strip in the panko breadcrumbs, pressing gently to ensure an even coating. Repeat this process for all the chicken strips, placing the breaded tenders on a baking sheet lined with parchment paper.
Step 4: Baking Process
Once all the chicken tenders are breaded, it’s time to bake! Preheat your oven to 425°F (220°C). This high temperature is essential for achieving that crispy exterior while keeping the inside juicy. Lightly spray the breaded tenders with cooking spray or brush them with a little olive oil to encourage browning. Bake the chicken tenders for about 15-20 minutes, flipping them halfway through to ensure even cooking. Keep an eye on them as they bake; you’re looking for a golden-brown color and an internal temperature of 165°F (75°C) to ensure they are fully cooked.
By following these preparation steps, you’ll set a strong foundation for creating perfectly crispy baked chicken tenders. The combination of a flavorful marinade, a well-thought-out breading process, and precise baking techniques will leave you with a dish that’s not only delicious but also a healthier alternative to its fried counterpart. As you continue with this recipe, you’ll discover just how simple it is to bring Crunchy Heaven to your dinner table.