Decadent Oreo Bliss Bites: A No-Bake Delight
Oreo desserts have taken the culinary world by storm, becoming a beloved treat for chocolate lovers and cookie enthusiasts alike. From classic cheesecake to innovative milkshakes, Oreos have proven to be a versatile ingredient that can elevate any dessert. Among the myriad of Oreo-based recipes, Oreo Bliss Bites stand out as a delightful no-bake treat that combines the rich flavors of chocolate and cream cheese into a bite-sized indulgence. Perfect for a variety of occasions, these blissful bites are not only easy to prepare but also offer an irresistible combination of textures and flavors that will leave your guests asking for more.
What makes Oreo Bliss Bites particularly appealing is their simplicity. Unlike many desserts that require extensive baking and cooling time, these no-bake treats can be whipped up in a matter of minutes, making them an ideal choice for busy bakers or last-minute gatherings. Whether you’re hosting a birthday party, a holiday celebration, or simply craving something sweet, Oreo Bliss Bites are sure to impress. Their compact size allows for easy serving, making them a hit at parties where guests can pop them into their mouths without the need for utensils.
Understanding Oreo Bliss Bites
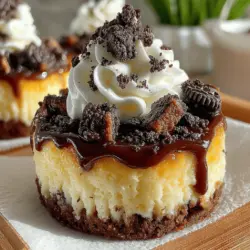
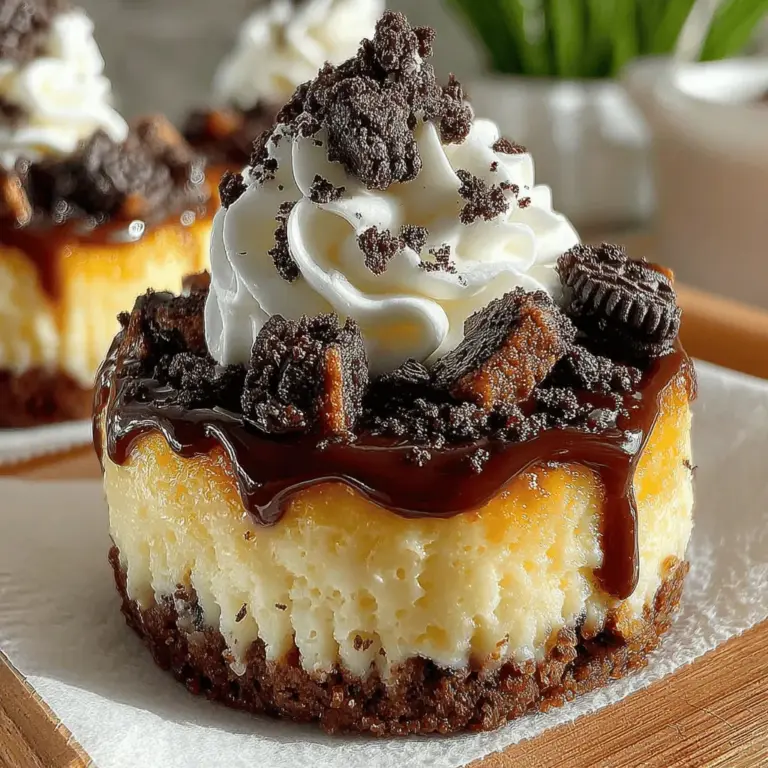
Oreo Bliss Bites are miniature desserts that feature a luscious cheesecake filling nestled within a crunchy Oreo crust. The combination of flavors is nothing short of heavenly — the sweet, creamy filling contrasts beautifully with the crispness of the cookie base, creating a harmonious balance that delights the palate. Each bite is a burst of flavor, with the rich chocolate notes of the Oreo complementing the smooth, velvety texture of the cream cheese filling.
What sets Oreo Bliss Bites apart is their versatility. They can easily be customized to fit any theme or occasion. Whether you’re planning a festive holiday gathering, a casual backyard barbecue, or an elegant dinner party, these bites can be dressed up or down to suit the mood. Imagine serving them at a children’s birthday party, where their fun size and appealing flavors will be a hit, or presenting them at a romantic dinner, adorned with a drizzle of chocolate sauce and fresh berries. The possibilities are endless, making them a staple recipe for any dessert lover.
Ingredients Breakdown
Creating the perfect Oreo Bliss Bites starts with the right ingredients. Here’s a detailed list of the components that come together to make this delicious treat:
1. Oreo Cookies: As the star of the recipe, Oreo cookies are essential for both the crust and the filling. Their chocolatey flavor and crunchy texture provide the foundation for this dessert. The versatility of Oreos means you can experiment with different flavors – classic, double-stuffed, or even seasonal varieties like pumpkin spice or mint.
2. Cream Cheese: This ingredient lends richness and creamy texture to the filling. Make sure to use softened cream cheese for the smoothest results. It not only adds flavor but also helps bind the filling together, giving it that cheesecake-like quality that everyone loves.
3. Heavy Whipping Cream: This component is crucial for achieving a light and fluffy texture in the filling. When whipped, heavy cream incorporates air, which lightens the mixture and gives the Oreo Bliss Bites their delightful mouthfeel.
4. Optional Ingredients: To elevate your Oreo Bliss Bites, consider adding mini chocolate chips or whipped cream for an extra layer of sweetness. You can also reserve some crushed Oreos for garnish, adding an appealing visual element that enhances the overall presentation.
Understanding each ingredient’s role in the recipe not only helps in achieving the best flavor but also allows you to make substitutions if necessary. For instance, if you’re looking for a lighter option, you could use reduced-fat cream cheese or even Greek yogurt in place of cream cheese, though this will alter the flavor and texture slightly.
Step-by-Step Guide to Making Oreo Bliss Bites
Now that you have a grasp of the ingredients, let’s dive into the step-by-step guide for preparing Oreo Bliss Bites, starting with the cookie crust.
Preparing the Cookie Crust
The cookie crust is the foundation of the Oreo Bliss Bites, and achieving the right texture is crucial for stability. Begin by crushing the Oreo cookies into fine crumbs. While you can do this manually with a rolling pin, a food processor makes the task much easier and ensures a consistent texture. Simply place the Oreos in the processor, pulse until finely ground, and you’ll have a perfect crumb mixture in seconds.
Once you have your cookie crumbs, transfer them to a mixing bowl and add melted butter. The butter acts as a binding agent, helping the crumbs stick together when pressed into the baking dish. Mix the crumbs and butter until the mixture resembles wet sand. It should hold together when pressed but still crumble easily if you pinch it between your fingers.
The next step is to press the cookie mixture into the bottom of your chosen baking dish. A 9×9-inch square pan is ideal for this recipe, but you can use silicone molds for individual servings. Use the bottom of a measuring cup or your fingers to pack the crust firmly into an even layer. This step is vital; a well-formed crust will provide stability to the bites and prevent them from falling apart later on.
Setting the Crust
After pressing down the crust, it’s important to let it set. You can either refrigerate it for about 30 minutes or place it in the freezer for about 15 minutes. This chilling time allows the butter to solidify, making the crust more stable and easier to cut into squares once the filling is added. Keep an eye out for visual cues; the crust should look firm and hold its shape when you touch it.
Making the Cheesecake Filling
While the crust is setting, you can start preparing the cheesecake filling. In a mixing bowl, beat the softened cream cheese until smooth and creamy. This step is crucial for avoiding lumps in your filling. Gradually add in powdered sugar, mixing until completely incorporated. The sweetness of the sugar balances the tanginess of the cream cheese, creating a deliciously creamy base.
Next, in a separate bowl, whip the heavy cream until stiff peaks form. This is where the lightness of the filling comes into play. Gently fold the whipped cream into the cream cheese mixture, taking care not to deflate the air incorporated during whipping. The goal is to achieve a fluffy texture that will complement the crunchy cookie crust.
Once your filling is ready, you can add crushed Oreos or mini chocolate chips for an extra burst of flavor. Gently fold these in for an even distribution throughout the filling. This step not only enhances the taste but also adds texture, making each bite even more enjoyable.
With the crust set and the filling prepared, you’re just a few steps away from creating the perfect Oreo Bliss Bites. The next part of the process involves layering the filling on top of the crust and allowing everything to chill until firm, making it easy to cut and serve. Stay tuned for the continuation of this delightful recipe, where we’ll explore the final assembly and presentation of these irresistible treats.
The Significance of Beating Cream Cheese to the Right Consistency
When it comes to crafting the perfect Oreo Bliss Bites, the foundation often lies in the cream cheese. Beating the cream cheese to the right consistency is crucial for a smooth and creamy filling. Begin with softened cream cheese, ideally at room temperature, as this allows for easier blending with other ingredients. The goal is to achieve a smooth, lump-free mixture. Overbeating can introduce air into the mixture, which might lead to a less dense filling. Aim for a texture that is creamy and spreadable, allowing the flavors to meld beautifully.
Combining Ingredients Smoothly for the Best Flavor
Once the cream cheese is perfectly beaten, it’s time to mix in the other ingredients. Gradually add sugar and vanilla extract to the cream cheese, mixing well until the ingredients are fully incorporated. This gradual addition helps to ensure that the flavors blend harmoniously, giving your Oreo Bliss Bites their signature taste. Avoid rushing this process; take your time to combine the ingredients smoothly for the best flavor profile.
Whipping the Cream
Whipping cream is a crucial step in achieving the light, airy texture of your Oreo Bliss Bites. Start with cold heavy whipping cream, as this whips better than cream at room temperature. Using a stand mixer or hand mixer, whip the cream on medium speed until it begins to thicken.
Explanation of Stiff Peaks and Their Role in the Recipe
You’ll know you’ve reached the right stage when the cream forms stiff peaks. Stiff peaks mean that when you lift the whisk or beaters out of the cream, the peaks hold their shape without drooping. This stage is vital for the Oreo Bliss Bites because it contributes to the light and fluffy texture of the filling, which balances the denser cream cheese base.
Techniques for Folding Whipped Cream to Maintain Fluffiness
Folding the whipped cream into the cream cheese mixture is an art. You want to maintain the airiness of the whipped cream while ensuring everything is combined. Use a spatula to gently scoop under the mixture and fold it over the top. Rotate the bowl as you fold, repeating this motion until the two mixtures are just combined. Avoid vigorous stirring, as this can deflate the whipped cream, resulting in a denser filling.
Incorporating the Oreos
Now comes the fun part: incorporating the Oreos. Start by crushing the cookies into small pieces. You can do this by placing them in a sealed plastic bag and using a rolling pin or by pulsing them in a food processor. Aim for a mix of fine crumbs and larger chunks to provide texture in your bites.
The Balance of Flavor with Chopped Oreos
Adding the crushed Oreos to the filling not only enhances the flavor but also adds a delightful crunch. Mix them into the cream cheese and whipped cream mixture until evenly distributed. The balance of the sweet, creamy filling against the chocolatey crunch of the Oreos creates a treat that’s hard to resist.
Optional Mini Chocolate Chips: When and Why to Add
For those who want an extra chocolatey kick, consider adding mini chocolate chips to the mixture. They can be incorporated at the same time as the crushed Oreos. This addition not only enhances the chocolate flavor but also adds another layer of texture to the bites. However, if you prefer a more classic Oreo flavor profile, feel free to skip this step.
Filling the Cups
With your filling ready, it’s time to fill the cups. Using a spoon or a piping bag, carefully distribute the cheesecake filling into your prepared muffin tin.
Tips for Even Distribution of the Cheesecake Filling
To ensure each bite is perfectly portioned, fill the cups approximately two-thirds full. This allows room for the cheesecake to rise slightly as it sets without overflowing.
The Importance of Smoothing the Tops for Presentation
Once filled, use a spatula or the back of a spoon to smooth the tops of each bite. This not only enhances the presentation but also ensures even setting. A well-smooth top will give your Oreo Bliss Bites a polished look when they are served.
Chilling and Setting
After filling the muffin tins, it’s time for the crucial chilling phase. Place the muffin tin in the refrigerator to allow the bites to set.
Necessary Chilling Time and How It Affects Texture
Chill the Oreo Bliss Bites for at least 4 hours, though overnight is even better. This chilling time allows the filling to firm up, ensuring that your bites hold their shape when removed from the tin. The longer they chill, the more cohesive the flavors become, resulting in a more enjoyable treat.
Recommendations for Optimal Chilling Conditions
For best results, ensure your refrigerator is set to a consistent temperature, ideally around 35°F (1.6°C). Avoid placing the muffin tin in the door of the fridge, as the temperature fluctuates more there. Instead, place it on a middle shelf, where the temperature is more stable.
Serving and Garnishing
Once your Oreo Bliss Bites have chilled and set perfectly, it’s time to serve them up!
How to Remove the Bites from the Muffin Tin Without Damage
To remove the bites, run a small offset spatula or knife around the edges of each cup to loosen them. Gently lift each bite out of the muffin tin, being careful not to break them. If you find them sticking, you can place the muffin tin in warm water for a few seconds to help release them.
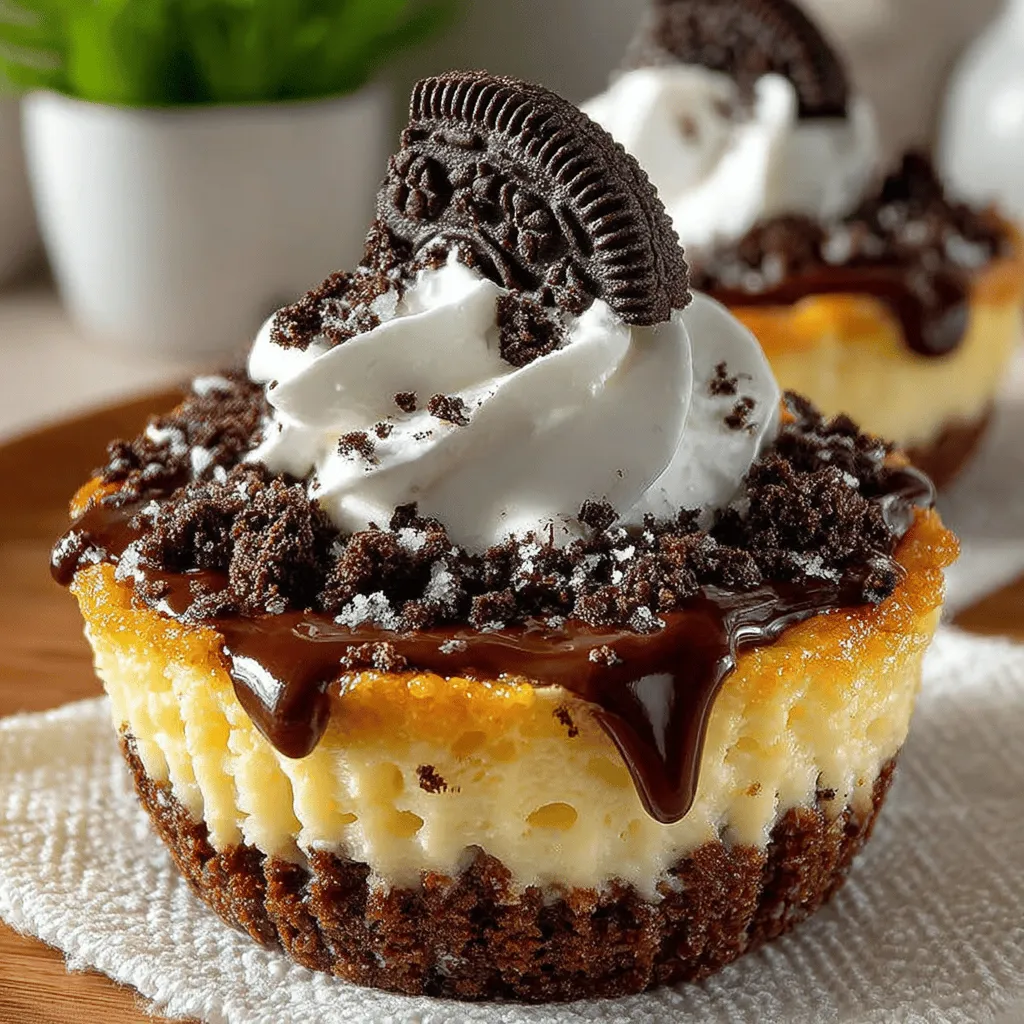
Ideas for Presentation with Whipped Cream and Crushed Oreos
For a stunning presentation, consider topping each Oreo Bliss Bite with a dollop of whipped cream and a sprinkle of crushed Oreos. This not only adds visual appeal but also enhances the flavors, making each bite even more indulgent.
Nutritional Considerations
While Oreo Bliss Bites are undeniably delicious, it’s essential to consider their nutritional aspects. Each bite is rich in flavor, primarily due to the cream cheese and Oreos, meaning they are higher in calories and sugars.
Overview of the Nutritional Aspects of Oreo Bliss Bites
A single Oreo Bliss Bite contains approximately 150-200 calories, depending on the size and specific ingredients used. They are a treat meant for indulgence, so be mindful of portion sizes when serving.
Discussion on Portion Control and Indulgence
To enjoy these bites guilt-free, consider serving them as small portions. They are rich enough that even a small bite can satisfy your sweet tooth. Pair them with fresh fruit for a balanced dessert option, allowing you to indulge while still enjoying the flavors.
Conclusion
Oreo Bliss Bites are a delightful combination of flavors and textures, showcasing the classic taste of Oreos in a creamy dessert form. The simplicity of the recipe makes it accessible for bakers of all levels, while the resulting bites are sure to impress friends and family alike.
Encouraging you to try this recipe, we invite you to experience the joy of creating these homemade treats. Whether for a special occasion or a casual gathering, Oreo Bliss Bites are sure to bring smiles and satisfaction. Embrace the flavors and the joy of baking, and watch as these delightful bites become a favorite in your dessert repertoire!